
To shoot high-quality vertical videos without spending a lot, focus on stabilization by using a gimbal or resting your device properly. Pay attention to framing and lighting: follow the rule of thirds, avoid clutter, and shoot during good natural light. Use accessories like extension wands for consistency. Practice your shots and do final checks to guarantee smooth, well-composed footage. Keep these fundamentals in mind, and you’ll discover tips that can elevate your vertical content even further.
Key Takeaways
- Use a stabilizer or gimbal to ensure smooth, steady footage during vertical shooting.
- Optimize lighting conditions with natural light or portable LEDs to enhance image clarity.
- Frame your shot using the rule of thirds and avoid clutter for balanced composition.
- Conduct test recordings to verify stabilization, focus, and framing before capturing final footage.
- Keep the device steady with proper grip or stable surfaces to prevent shakes and maintain quality.

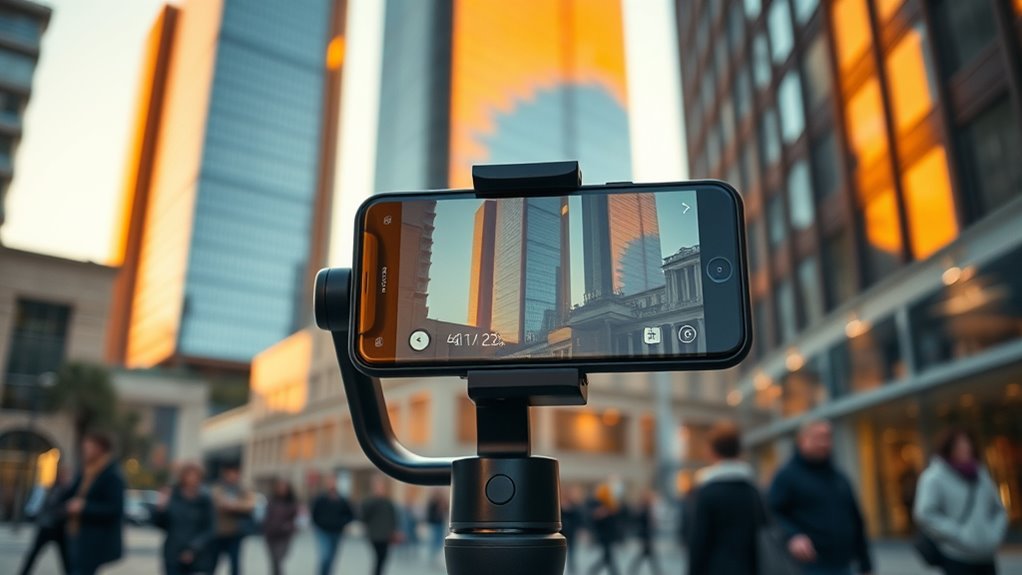
Shooting vertical video has become essential in today’s mobile-centric world, where most viewers hold their devices upright. To make your content stand out and look professional, you need to master techniques that guarantee smooth, well-composed footage. Camera stabilization plays a vital role here. Even small shakes can distract viewers and reduce the quality of your video. Invest in a good stabilizer or gimbal, which helps keep your shots steady, especially when you’re moving. If you don’t have access to specialized equipment, find stable surfaces to rest your device on or keep your arms close to your body to minimize movement. Steady footage not only looks better but also maintains viewer engagement, making your message more impactful. Using appropriate accessories like extension wands and strainers can further help achieve consistent results in your shots.
Steady, well-framed vertical videos enhance professionalism and viewer engagement.
Equally important are framing techniques. Since your video is vertical, you need to think differently about composition. Use the rule of thirds to position your subject off-center, creating a more dynamic and engaging shot. Pay attention to the background, ensuring it doesn’t clutter the frame or distract from your main subject. Keep your subject well-lit and in focus, and avoid cutting off limbs or important details. Framing effectively means you’re guiding the viewer’s eye naturally to what matters most. It also involves considering the environment around you—use leading lines or natural borders to enhance the depth and interest of your shot.
Lighting often makes or breaks the quality of vertical videos. Natural light is your best friend; shoot during the golden hour for warm, flattering tones, or find well-lit areas to prevent grainy footage. If indoors, supplement with portable LED lights or use the available light creatively to highlight your subject. Good lighting, combined with stabilized footage, creates a polished look that’s visually appealing and professional.
Lastly, practice your framing techniques before you start recording. Take a few test shots to check your stabilization and composition. Keep an eye on your device’s orientation, and double-check that your framing is balanced. As you become more comfortable with these techniques, your vertical videos will look more intentional and less like hurried clips. Remember, quality vertical videos don’t require expensive gear—they rely on understanding and applying the fundamentals of stabilization and framing. With a little effort and awareness, you can produce engaging, high-quality vertical content that resonates with your audience and elevates your social media presence.
smartphone gimbal stabilizer
As an affiliate, we earn on qualifying purchases.
As an affiliate, we earn on qualifying purchases.
Frequently Asked Questions
How Does Vertical Shooting Affect Image Stabilization?
Vertical shooting can make image stabilization more challenging because camera shake is more noticeable along the vertical axis. To combat this, you should use stabilization techniques like gimbals, optical image stabilization (OIS), or software-based stabilization in post-production. Keeping a steady hand, using a tripod, or employing electronic stabilization features helps reduce camera shake, ensuring your vertical videos stay smooth and professional-looking without sacrificing quality.
Can I Shoot Vertical Video With Professional Cameras?
You can definitely shoot vertical video with professional cameras; think of it like turning a square peg into a round hole. Focus on camera ergonomics to hold the device comfortably, and choose the right lens—preferably wide-angle—to capture the full frame without distortion. Use stabilizers to keep your shot steady, ensuring high-quality footage. Remember, adaptability is key, and with the right gear, your professional camera can excel in vertical filming.
What Are the Best Lighting Setups for Vertical Videos?
You should use soft, even lighting techniques like diffused key lights and fill lights to avoid harsh shadows in vertical videos. Position lights at eye level for a natural look, and consider using colored gels or LED panels for creative color grading. Good lighting enhances image quality and makes color grading easier, ensuring your vertical videos look professional and vibrant without sacrificing detail or clarity.
How Do Aspect Ratios Impact Editing Vertical Footage?
Aspect ratio critically impacts editing vertical footage because it determines how your framing appears on different screens. Using the right aspect ratio, like 9:16, guarantees your content fits mobile screens perfectly. Framing techniques, such as rule of thirds, help you compose shots effectively within this ratio. When editing, you may need to crop or add borders, so understanding aspect ratio helps you maintain visual consistency and avoid losing important details.
Is There a Recommended Minimum Resolution for Vertical Videos?
Think of your vertical video as a tall, vibrant skyscraper—resolution standards set the foundation, and pixel density keeps it sharp. For quality, aim for at least 1080 pixels in height, like a sturdy building that withstands scrutiny. This ensures your footage retains clarity across screens. Lower resolutions risk blurriness, so always select a resolution that matches the viewer’s expectations and preserves detail, especially when zooming or cropping.
portable LED video light
As an affiliate, we earn on qualifying purchases.
As an affiliate, we earn on qualifying purchases.
Conclusion
So, don’t let concerns about quality hold you back from shooting vertical videos. With the right techniques and equipment, you can produce sharp, professional-looking content that captivates your audience. Remember, many successful creators started with just a smartphone and a clear vision. Embrace the vertical format confidently—your viewers will appreciate authentic, engaging videos, no matter the orientation. Get out there, shoot confidently, and watch your content stand out!
phone camera extension wand
As an affiliate, we earn on qualifying purchases.
As an affiliate, we earn on qualifying purchases.
vertical video tripod mount
As an affiliate, we earn on qualifying purchases.
As an affiliate, we earn on qualifying purchases.