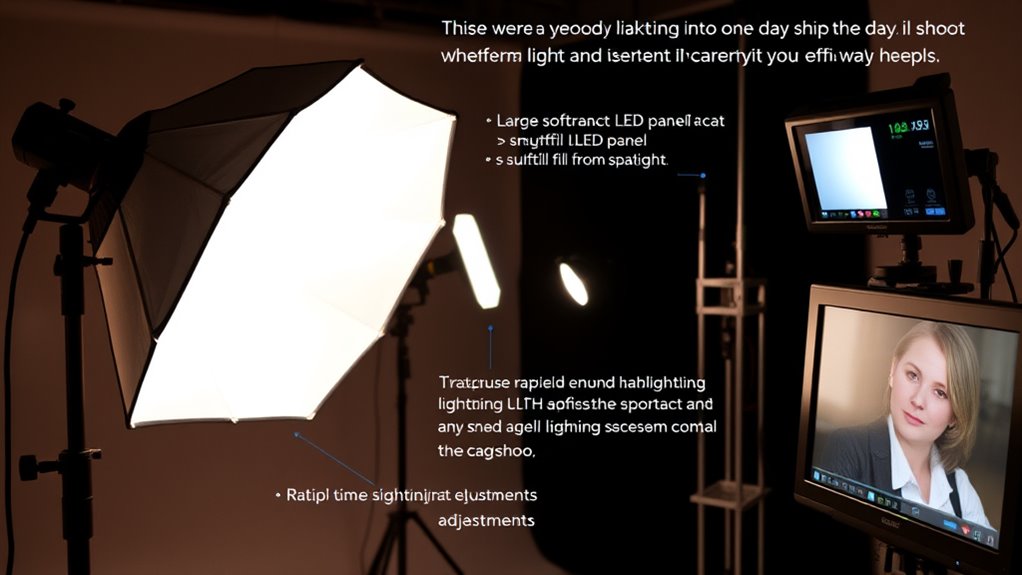
For a one-day shoot, start by analyzing natural light and plan to use golden hour for soft, warm tones. Bring portable LED panels with adjustable brightness and color to quickly adapt. Use simple diffusion materials like bedsheets or parchment paper to soften light, and position key lights at 45° for flattering effects. Fill shadows with reflectors and incorporate practical lights to add depth. Strategic background and accent lighting, combined with quick adjustments, helps create a professional look fast—more tips to streamline your setup await.
Key Takeaways
- Prioritize practical fixtures with adjustable brightness and suitable sizes to create natural, seamless lighting effects quickly.
- Use natural light during golden hours and overcast days for soft, flattering illumination with minimal setup.
- Incorporate diffusion materials like bedsheets or shower curtains to soften practicals and enhance scene mood efficiently.
- Position practical lights at 45° and slightly above eye level for natural contours and flattering results.
- Combine portable LED panels with practicals to add fill, accent, or background lighting, ensuring quick adjustments and flexibility.
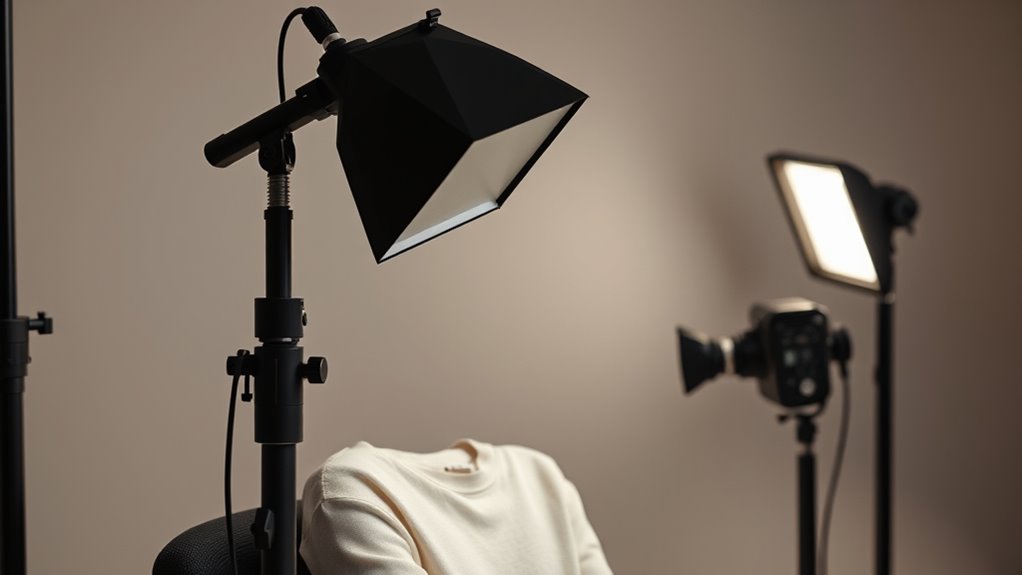
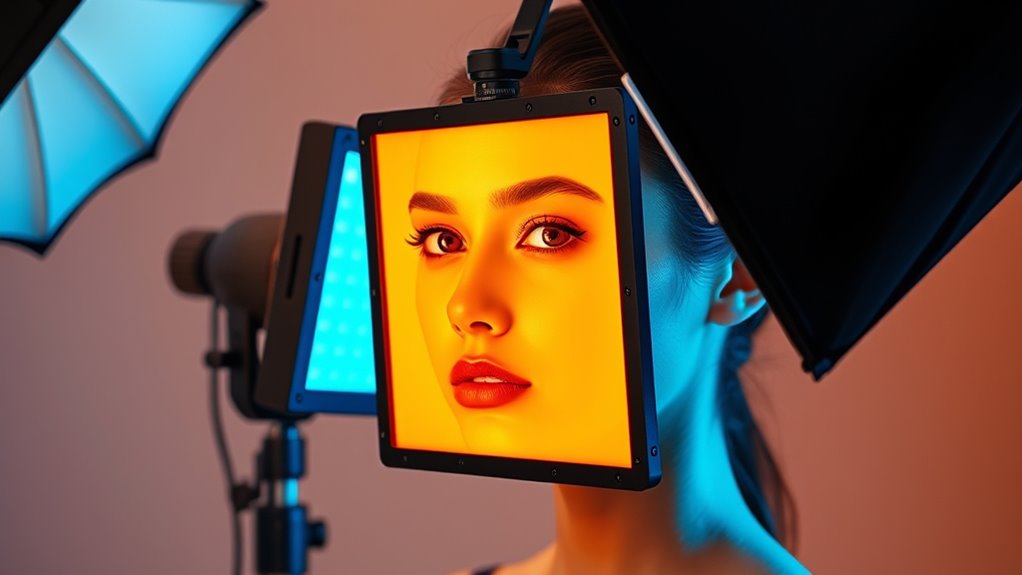
portable LED panel with adjustable brightness and color temperature
As an affiliate, we earn on qualifying purchases.
As an affiliate, we earn on qualifying purchases.
Understanding Natural Light and When to Use It
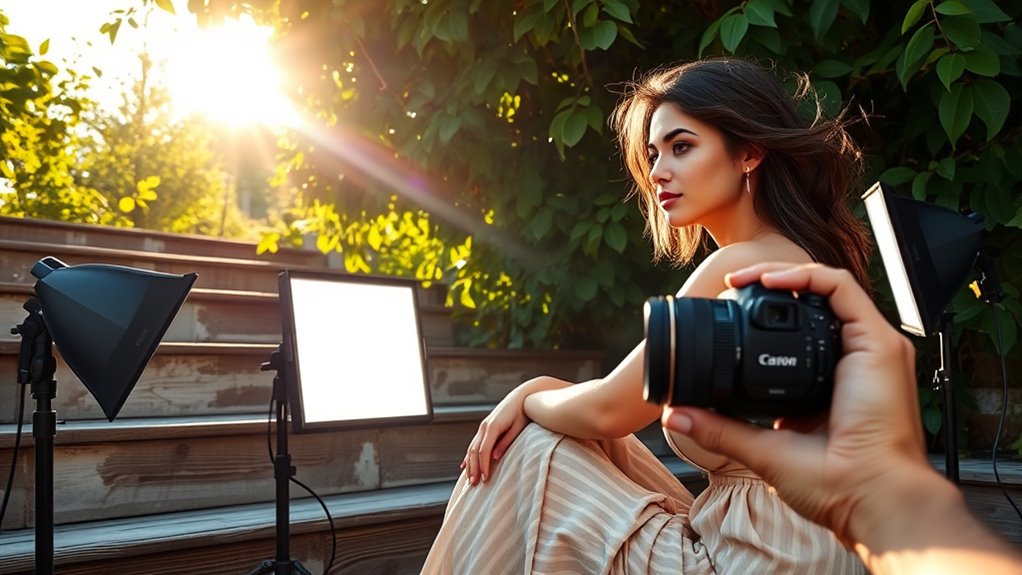
Natural light is often the most accessible and flattering option for one-day shoots, but knowing when to use it can make or break your results. To do this, consider solar positioning, which changes throughout the day and influences shadow angles and light intensity. Shooting during the golden hour—shortly after sunrise or before sunset—provides soft, warm light that enhances your subject. Atmospheric conditions also play a role; clear skies offer consistent sunlight, while overcast days diffuse light evenly, reducing harsh shadows. Keep an eye on these factors to optimize natural light use. Understanding how solar positioning and atmospheric conditions interact helps you plan your shoot for the best lighting, minimizing additional setup and ensuring your visuals are both natural and flattering. Additionally, paying attention to projector technology can help you better understand how different lighting environments will affect your final image quality. Recognizing the influence of AI and automation in lighting planning can also assist in pre-visualization and adjusting your setup accordingly. Incorporating light meters into your workflow can further improve your ability to measure and utilize available natural light effectively and lighting conditions are crucial for achieving the desired aesthetic in your shoot.
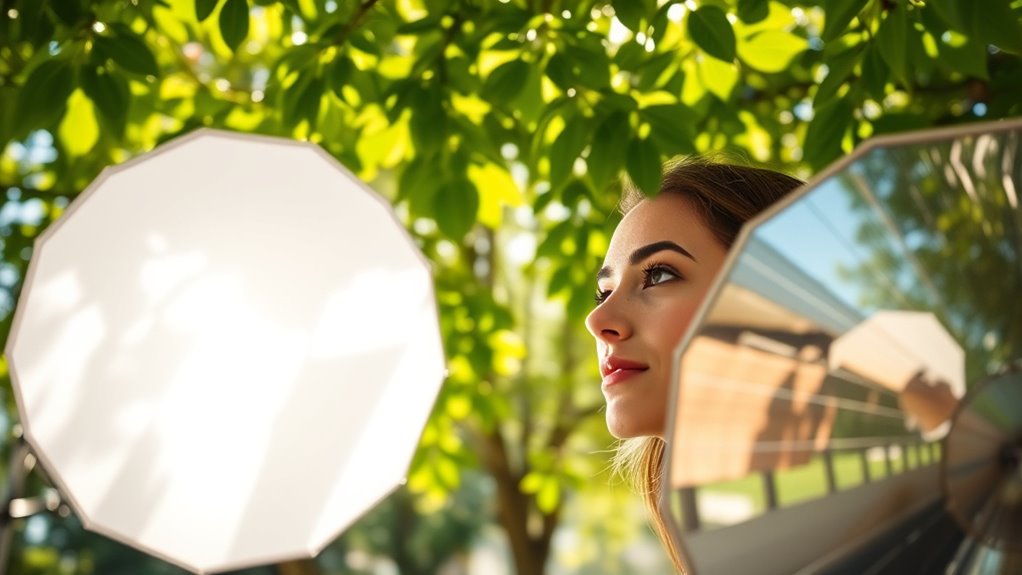
diffusion materials for lighting softening
As an affiliate, we earn on qualifying purchases.
As an affiliate, we earn on qualifying purchases.
Utilizing Portable LED Panels for Quick Setup
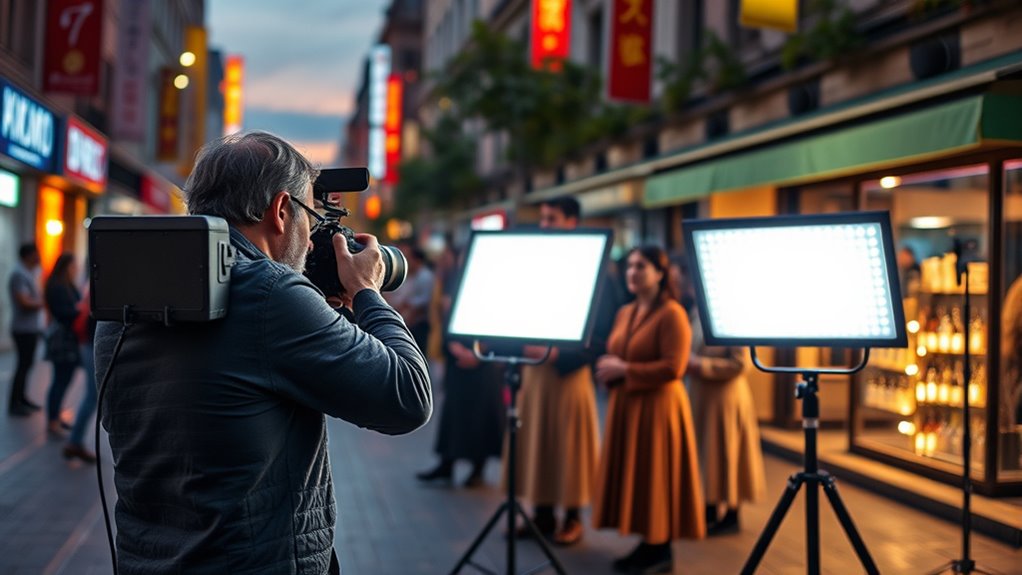
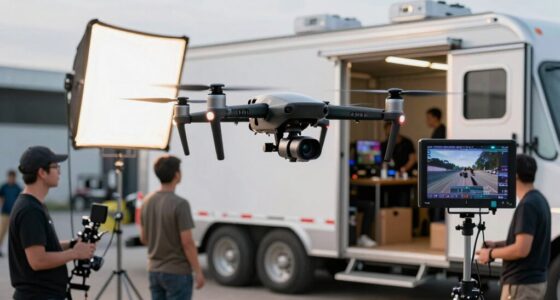
When time is tight and you need consistent lighting, portable LED panels are an invaluable tool for one-day shoots. They’re lightweight, easy to set up, and can be quickly repositioned to achieve the desired look. Many models come with built-in rechargeable batteries, offering excellent portable power that eliminates the need for extensive cabling. Pay attention to battery life; select panels with long-lasting charge to avoid interruptions during filming. This guarantees you can maintain consistent lighting throughout your shoot without scrambling for power sources. With their adjustable brightness and color temperature, portable LED panels give you control and flexibility on the fly. They’re perfect for fast-paced environments where every minute counts, helping you deliver professional results with minimal setup time. Additionally, considering Kia Tuning options can inspire creative lighting ideas to enhance your shoot’s mood and storytelling.
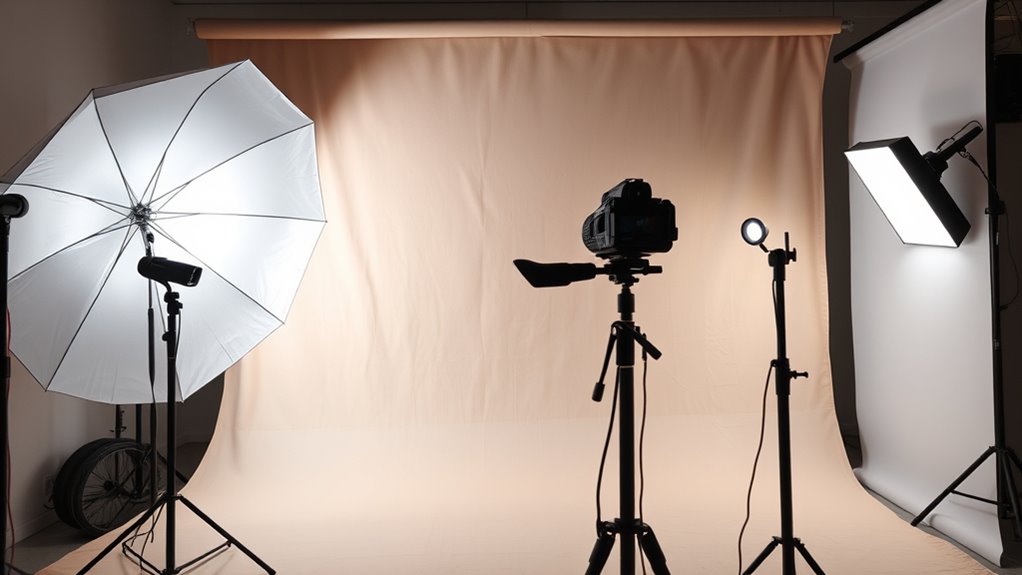
reflector for photography
As an affiliate, we earn on qualifying purchases.
As an affiliate, we earn on qualifying purchases.
Creating Soft, Diffused Light With Simple Materials
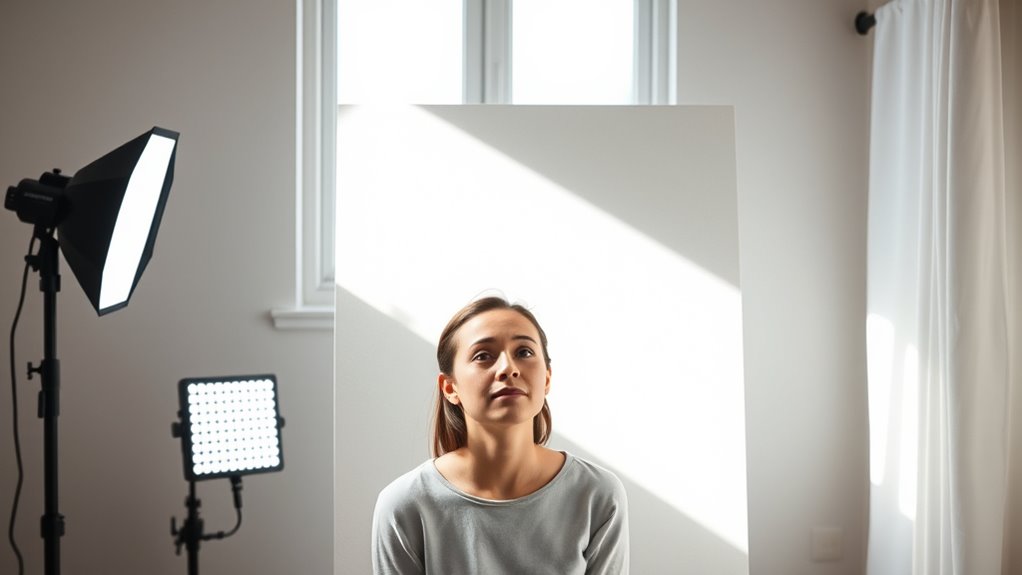
Ever wonder how to achieve soft, flattering light without expensive equipment? You can use simple materials to create effective diffusion. First, choose inexpensive diffusion materials like white bedsheets, shower curtains, or parchment paper. Second, drape these materials over a sturdy frame or attach them to windows or reflectors. Third, position your light source behind the diffusion to spread light evenly. Fourth, employ softbox techniques by shaping your diffusion material to mimic a softbox’s effect, softening shadows and reducing harshness. Additionally, understanding lighting techniques can help you craft smooth, even lighting that flatters your subject. Incorporating knowledge of light positioning can further enhance the quality of your setup. Using diffusion materials effectively allows you to control light quality without costly gear. These methods help you craft smooth, even lighting that flatters your subject. By understanding diffusion materials and softbox techniques, you simplify your setup while maintaining professional-quality results. No need for costly gear—just creative use of everyday items. Recognizing the importance of light quality can help you achieve more natural and flattering results in your photography.
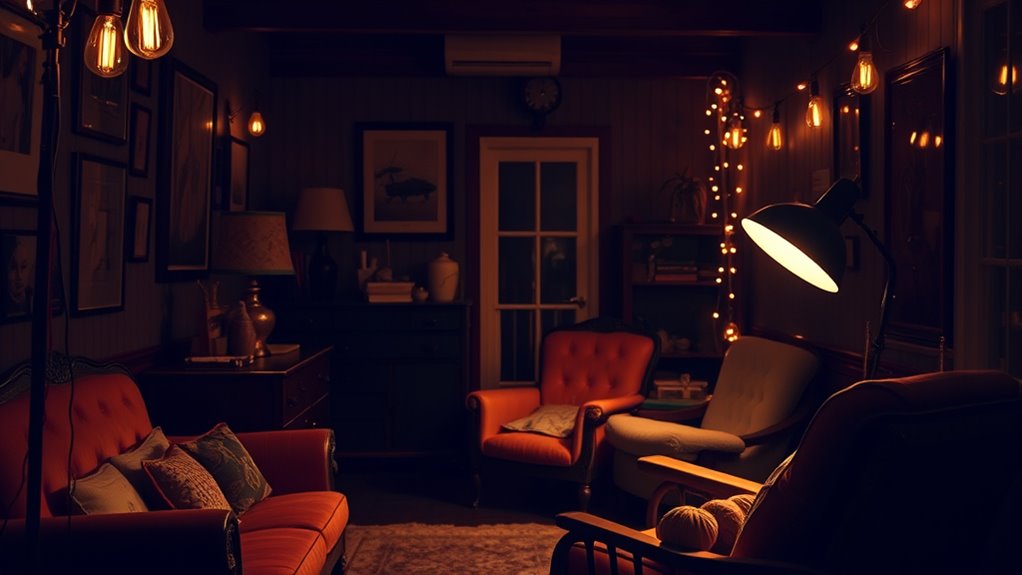
golden hour photography lighting kit
As an affiliate, we earn on qualifying purchases.
As an affiliate, we earn on qualifying purchases.
Positioning Key Lights for Flattering Results
Positioning your key light correctly can make all the difference in creating flattering portraits. Light placement affects how features are highlighted and shadows fall, influencing overall appeal. To achieve flattering angles, place the key light at about 45 degrees to the subject’s face and slightly above eye level. This setup softens shadows and enhances natural contours. Consider the table below to visualize different light positions:
| Position | Effect | Flattering Tips |
|---|---|---|
| High and 45° | Soft, natural shadows | Keep the light slightly above eye level for a gentle glow |
| Eye level, front | Flat, even illumination | Use for a youthful, smooth look |
| Side, 90° | Dramatic, defined shadows | Use sparingly for character shots |
Adjust these angles based on your subject’s features for ideal results. Additionally, experimenting with light modifiers can help control light quality and achieve even more flattering results. Using knowledge of lighting techniques and the effects of light positioning can further refine your setup and enhance the overall look.
Using Bounce and Reflectors to Fill Shadows
Using bounce and reflectors effectively fills in shadows created by your key light, ensuring your subject’s features appear balanced and well-lit. This technique enhances shadow control and softens harsh lines with simple diffusion techniques. To maximize their impact, consider these tips:
- Position reflectors at different angles to target specific shadow areas.
- Use white or silver surfaces for softer or more intense fill, respectively.
- Keep reflectors close to your subject for better illumination.
- Adjust the distance based on the desired diffusion and shadow softness.
- Ensure your lighting equipment and environmental interactions are properly paired and functioning to monitor audio quality during setup. Additionally, understanding the best beaches can inspire outdoor lighting setups for beach shoots, making the most of natural light conditions.
Implementing Practical Lights to Enhance the Scene
Choosing the right practical fixtures sets the tone for your scene, so pick ones that complement your mood and style. You’ll want to seamlessly blend these lights with existing ambient illumination to create a natural look. Finally, learn to control their intensity and color to fine-tune the scene’s atmosphere without overcomplicating your setup. Incorporating AI-driven tools can also assist in previewing and adjusting lighting setups for optimal results.
Selecting Appropriate Practical Fixtures
How can you guarantee your practical fixtures not only illuminate but also enhance the scene? The key is careful fixture selection and strategic lamp placement. First, choose fixtures that match the scene’s mood and color temperature. Second, select fixtures with adjustable brightness to control intensity. Third, consider the fixture’s size and shape to avoid overpowering or underwhelming the shot. Fourth, plan your lamp placement to create natural-looking pools of light that complement the scene’s depth. Focus on fixture selection that suits the environment—whether vintage sconces or modern LED panels. Thoughtful lamp placement ensures even coverage and avoids unwanted shadows. Engaging with lighting principles can help you craft more dynamic and balanced illumination. Additionally, understanding regional resources can also be beneficial if you need specialized fixtures or expert advice for complex setups. Incorporating knowledge of lighting techniques can further refine your practical lighting design. By combining the right fixtures with precise placement, your practicals will serve both functional and aesthetic purposes seamlessly. Embracing a mindful approach to lighting design can further elevate your scene’s visual storytelling.
Integrating Practicals With Ambient Light
Once you’ve selected the right practical fixtures and placed them thoughtfully, the next step is to fuse them seamlessly with the ambient light in your scene. To do this effectively, consider how the practical lights interact with existing ambient lighting, such as daylight or room fill. Adjust your camera settings—like aperture, ISO, and shutter speed—to balance exposure, ensuring the practicals don’t overpower the scene or appear too dim. Incorporate fashion accessories into the scene to reflect or complement the practical lighting, adding depth and visual interest. Use reflectors or bounce cards if needed to soften shadows or add subtle fill. This integration creates a cohesive look, where practical lights enhance the scene naturally without competing with ambient light, giving your shot a polished, professional feel.
Controlling Practical Intensity and Color
Controlling the intensity and color of practical lights is essential for shaping the mood and ensuring they enhance rather than distract from your scene. Adjusting the color temperature of practical fixtures helps match the scene’s tone, whether warm or cool, creating a natural look. To effectively manage practical lighting, consider these steps:
- Use dimmers or replace bulbs with adjustable ones to control brightness.
- Swap out bulbs to alter color temperature, achieving the desired warmth or coolness.
- Add gels or filters to practical fixtures for precise color correction.
- Use dimmer packs or remote controls to fine-tune intensity during the shoot.
Setting Up Background and Accent Lighting
Setting up background and accent lighting is essential for creating depth and visual interest in your shoot. Proper placement of lights helps separate your subject from the background and highlights key features. Focus on light direction to avoid flat images—aim lights at angles that sculpt your subject. Adjust color temperature for mood: warmer tones add intimacy, cooler tones create a modern feel. Use the table below to plan your setup:
| Light Type | Position | Purpose |
|---|---|---|
| Background Light | Behind or beside the background | Add color or texture |
| Accent Light | Slightly above or to the side of the subject | Highlight details or edges |
| Fill Light | Opposite side of the main light | Reduce shadows, soften contrast |
This approach guarantees your background complements your main light without overpowering it.
Managing Color Temperature for Cohesive Looks
To guarantee your footage looks consistent, you need to match the color temperature of all your light sources. Using color gels can help you quickly correct mismatched temperatures on set. This way, your visuals stay cohesive and professional, even with limited time.
Matching Light Sources
When working with multiple light sources during a one-day shoot, managing their color temperatures is essential to create a cohesive look. To match light color effectively, consider these steps:
- Adjust power modulation on your lights to match their brightness and color output.
- Use lights with similar color temperature settings or manually set their color to a consistent value.
- Measure each light’s color temperature with a gel or color meter, then tweak as needed.
- Prioritize the main light’s color as a reference, then modify other sources to align with it.
Using Color Gels
Using color gels offers a flexible and straightforward way to manage color temperature differences among your lights. By applying the right gels, you can achieve consistent color correction across your setup, ensuring a cohesive look. Carefully consider gel placement to avoid uneven color correction or unwanted color spill.
| Light Type | Recommended Gel Placement |
|---|---|
| Key Light | Near the light source |
| Fill Light | Close to the bulb or lens |
| Background Light | On the gel holder or filter frame |
| Hair/Accent Light | At the light’s front or barn doors |
| Practical Lights | Directly on the light or bulb |
This approach keeps your lighting balanced, saves time, and reduces post-production work.
Tips for Rapid Light Adjustment and Troubleshooting
Efficiently adjusting lights and troubleshooting issues on a tight shoot schedule requires quick thinking and familiarity with your gear. To streamline this process, keep these tips in mind:
- Use a light meter to quickly gauge lighting ratios, ensuring consistent exposure and easy adjustments.
- Keep spare bulbs, gels, and cables handy to replace faulty equipment without delay.
- Regularly check your color grading setup—adjust filters or gels immediately if colors shift unexpectedly.
- Test all lighting setups beforehand, noting specific adjustments needed for different scenes to save time during the shoot.
Frequently Asked Questions
How Do I Choose the Right Lighting Gear for a One-Day Shoot?
When choosing lighting gear for a one-day shoot, focus on lighting gear selection that fits your specific needs and scene. Keep budget considerations in mind, opting for versatile, easy-to-set-up lights that deliver quality results without overspending. Prioritize portable options and essential accessories, so you can quickly adapt to different setups. Planning ahead guarantees you have the right gear on hand to achieve professional-looking footage within your tight schedule.
What Are Quick Fixes for Unexpected Lighting Issues on Set?
When unexpected lighting issues strike, you’re like a sailor steering through a storm. Quickly, check your color temperature to match your lights, avoiding harsh color shifts. Use available tools like reflectors or diffusers to soften or redirect light. Also, manage power by turning off unused equipment to prevent flicker or overloading. These swift fixes keep your shoot afloat, ensuring consistent, professional results even when surprises arise.
How Can I Ensure Consistent Lighting Across Different Scenes?
To guarantee consistent lighting across scenes, you should control color consistency and light temperature. Use a reliable color meter or monitor to match light sources, and set your color temperature carefully at the start. Keep your lighting equipment calibrated and use gels or filters if needed. Continuously monitor your scene’s lighting, make adjustments as necessary, and document your settings, so you maintain a uniform look throughout the shoot.
What Safety Precautions Should I Take With Portable Lighting Equipment?
When working with portable lighting equipment, you should prioritize safety by ensuring proper electrical grounding to prevent shocks. Always check wireless safety features to avoid accidental activation or interference. Keep cords organized and away from walkways to prevent tripping hazards. Use weatherproof gear if shooting outdoors, and regularly inspect your equipment for damage. Taking these precautions helps keep everyone safe while maintaining efficient, smooth shooting sessions.
How Do I Balance Multiple Light Sources for Natural-Looking Results?
To balance multiple light sources for natural-looking results, start by adjusting their light temperature to match each other, creating a cohesive color tone. Use shadow control techniques, like softening or bouncing light, to prevent harsh shadows and guarantee even illumination. Experiment with positions and intensities, checking your shots frequently. This approach helps achieve a harmonious, realistic look, making your scene appear naturally lit and visually appealing.
Conclusion
With these lighting tips, you’re armed to turn any location into a professional shoot. Think of your setup as a painter’s palette—each light and reflector adding color and depth to your scene. Keep experimenting, stay flexible, and adjust swiftly to changing conditions. Remember, good lighting isn’t just about tools; it’s about your creative eye guiding them. With practice, your shoots will shine brighter than a spotlight—making every frame a masterpiece.