To create in-camera practical effects on a budget, leverage household items like foam boards and parchment paper as reflectors and diffusers to control your lighting. Use simple tricks like bouncing light, adjusting color temperature, and incorporating flickering LEDs or candles to add atmosphere. Build miniatures from craft materials and experiment with angles or fog effects to enhance scale. With patience and creativity, you’ll discover how to produce impressive visuals without costly gear—keep exploring for more tips and tricks.
Key Takeaways
- Repurpose household items like foam boards, cardboard, and plastic sheets to craft miniature scenes and models affordably.
- Use simple lighting tools such as candles, LED lights, and colored gels to create mood and realistic effects.
- Control lighting environment with reflectors, diffusers, and shadows to enhance scene depth without expensive equipment.
- Incorporate practical effects like fog, smoke, or flickering lights using low-cost materials for added atmosphere.
- Experiment with camera angles, macro shots, and fog effects to maximize illusion and scale on a tight budget.
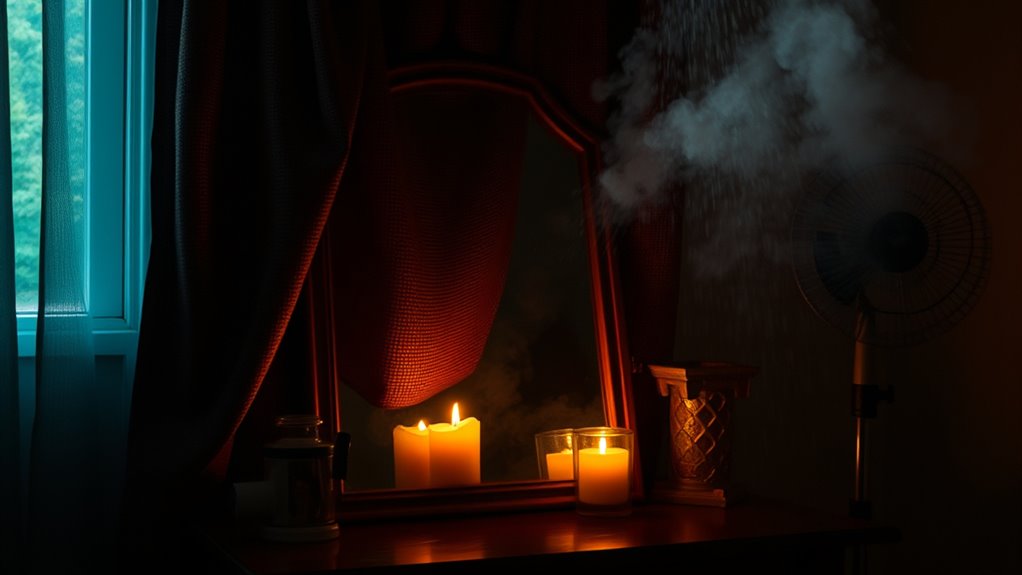
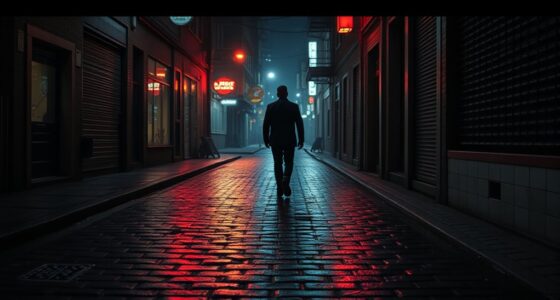
Creating convincing practical effects doesn’t have to break the bank. When you’re working with a tight budget, you can still achieve impressive results through clever techniques like light manipulation and using miniatures on a budget. These methods let you craft realistic scenes without expensive CGI or elaborate setups. Light manipulation, in particular, is a powerful tool that can transform simple props or miniatures into something that feels real and immersive. By controlling the lighting environment—playing with shadows, angles, and color—you can create mood and depth that trick the eye into believing what’s in front of it. For example, bouncing light off reflective surfaces or using colored gels can mimic complex lighting effects seen in high-budget productions. You don’t need costly equipment; even household items can help you shape and control light effectively. Small, inexpensive reflectors or diffusers—like white foam board or parchment paper—can soften or redirect light, adding realism to your scenes. Additionally, understanding how traditional butter making techniques utilize simple tools and materials can inspire you to find creative, low-cost solutions for your practical effects. Incorporating lighting control techniques such as dimming or adjusting color temperature can further enhance the atmosphere and realism of your scenes.
When it comes to miniatures on a budget, resourcefulness becomes your greatest asset. Instead of buying expensive, pre-made models, consider repurposing everyday objects or building simple models from craft materials. Foam, cardboard, and plastic sheets can all serve as the foundation for miniature sets. You can paint and detail these miniatures to match your scene’s needs, and since they’re small, you’ll save on materials and time. Plus, filming miniatures up close with a camera’s macro setting or a zoom lens amplifies their detail, making them appear more elaborate. Strategic camera angles also help sell the illusion—shooting from low angles or through fog or smoke effects can add depth, making your miniatures look more expansive. Additionally, understanding basic sound design principles can help enhance the realism of your scenes by adding subtle audio cues that complement the visuals.
Combining light manipulation with miniatures on a budget offers endless creative possibilities. Use shadows cast by miniatures to suggest larger environments or create the illusion of scale. Incorporate practical effects like flickering lights or simulated fire by manually controlling small LED lights or candles. These small, inexpensive tricks can make your miniature scenes feel alive and dynamic. Remember, the key to successful in-camera practical effects is experimentation. Play with different lighting setups, angles, and miniature arrangements until you find what works best. With patience and ingenuity, you’ll discover that professional-looking effects don’t require expensive gear—they thrive on creativity and resourcefulness. Whether you’re crafting a tiny spaceship or a ruined cityscape, mastering light manipulation and making smart use of miniatures on a budget can elevate your project without draining your wallet.
household reflectors for photography
As an affiliate, we earn on qualifying purchases.
As an affiliate, we earn on qualifying purchases.
Frequently Asked Questions
Can I Achieve Professional-Looking Effects With DIY Camera Tricks?
Absolutely, you can achieve professional-looking effects with DIY camera tricks. By experimenting with simple techniques like forced perspective, clever camera angles, and practical effects, you’ll create impressive visuals without expensive gear. Focus on planning and timing, and don’t be afraid to test different setups. With creativity and patience, DIY camera tricks can produce stunning, professional effects that elevate your film projects on a budget.
What Safety Precautions Should I Take When Using Practical Effects?
When using practical effects, you should prioritize safety gear like gloves, goggles, and masks to protect yourself from hazards. Always maintain hazard awareness by inspecting your setup for potential risks, like sharp objects or hot surfaces. Keep a fire extinguisher nearby if working with flames, and ensure proper ventilation for chemical effects. Taking these precautions helps prevent accidents and keeps your creative process secure and enjoyable.
How Do I Plan and Storyboard Practical Effects Effectively?
When planning and storyboarding practical effects, you should use storyboarding techniques to visualize each shot clearly. Sketch or outline how effects will appear and interact with the scene. Focus on planning equipment needs early, like props, costumes, or special materials, so you’re prepared. Break down every step, including timing and camera angles, ensuring your effects are feasible and safe, all while keeping within your budget.
Are There Specific Cameras or Lenses Better Suited for In-Camera Effects?
Did you know that 85% of filmmakers find the right camera and lenses essential for achieving in-camera effects? When choosing gear, prioritize camera compatibility and lens selection. A camera with good control over focus and exposure helps you execute practical effects smoothly. Opt for lenses with versatile focal lengths, like a zoom or prime lens, to add flexibility. This guarantees your effects look seamless and professional without needing expensive equipment.
How Can I Troubleshoot Common Practical Effect Failures During Filming?
When troubleshooting common practical effect failures during filming, you should first check for lighting issues that could obscure the effect or create unwanted shadows. Next, inspect your equipment for malfunctions, like loose connections or faulty gear, which might cause failures. Always have backup equipment ready and test effects beforehand. Staying vigilant about lighting and equipment status helps you identify problems early, ensuring smoother filming and better results.
LED flickering lights for videos
As an affiliate, we earn on qualifying purchases.
As an affiliate, we earn on qualifying purchases.
Conclusion
By using in-camera practical effects creatively, you can achieve stunning visuals without breaking the bank. Did you know that movies like *Mad Max: Fury Road* relied heavily on practical effects, saving millions compared to CGI? With a little ingenuity, you can make your scenes look just as impressive on a tight budget. So, get inventive, experiment with your camera, and bring your ideas to life without overspending!
miniature building craft supplies
As an affiliate, we earn on qualifying purchases.
As an affiliate, we earn on qualifying purchases.
lighting diffusers for camera
As an affiliate, we earn on qualifying purchases.
As an affiliate, we earn on qualifying purchases.