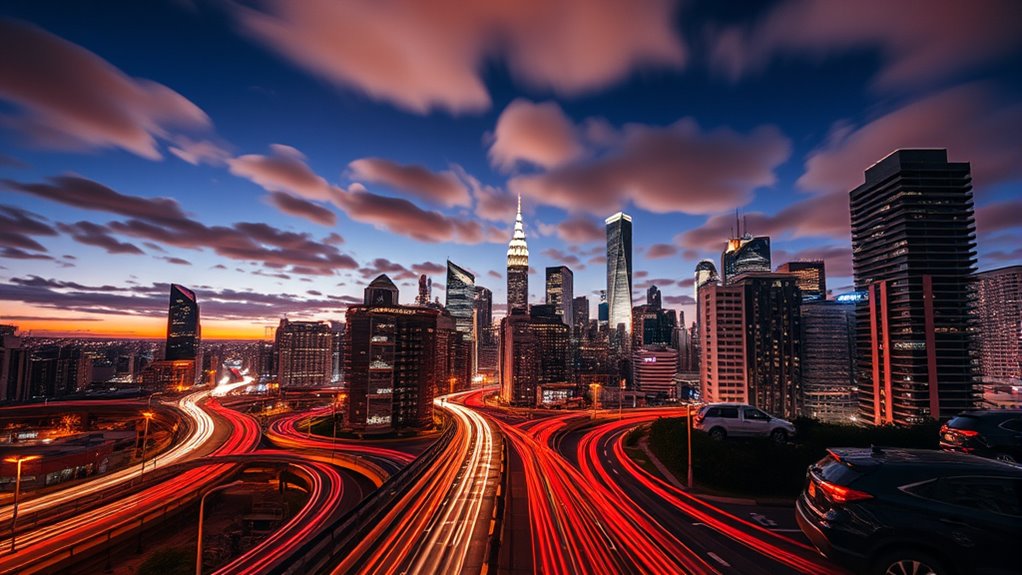
To create epic establishing shots with time-lapse, use manual camera settings for consistent exposure, adjusting aperture and ISO for ideal image quality. Set an appropriate interval based on scene movement—faster for quick changes, longer for slow shifts—and test your setup beforehand. Incorporate motion control equipment like sliders or gimbals to keep shots smooth. Careful planning and testing guarantee your sequence is seamless and visually striking—continue to explore these techniques to take your time-lapse to the next level.
Key Takeaways
- Use manual camera settings with consistent exposure, aperture, and ISO to prevent flickering in time-lapse sequences.
- Plan shot intervals based on scene change speed, adjusting for fast or slow transitions for dynamic effect.
- Employ motion control equipment like sliders or gimbals for smooth, professional camera movements during capturing.
- Conduct test shots to fine-tune camera settings, interval timing, and motion paths for optimal results.
- Manage exposure carefully to preserve highlights and shadows, ensuring a balanced, high-quality final video.
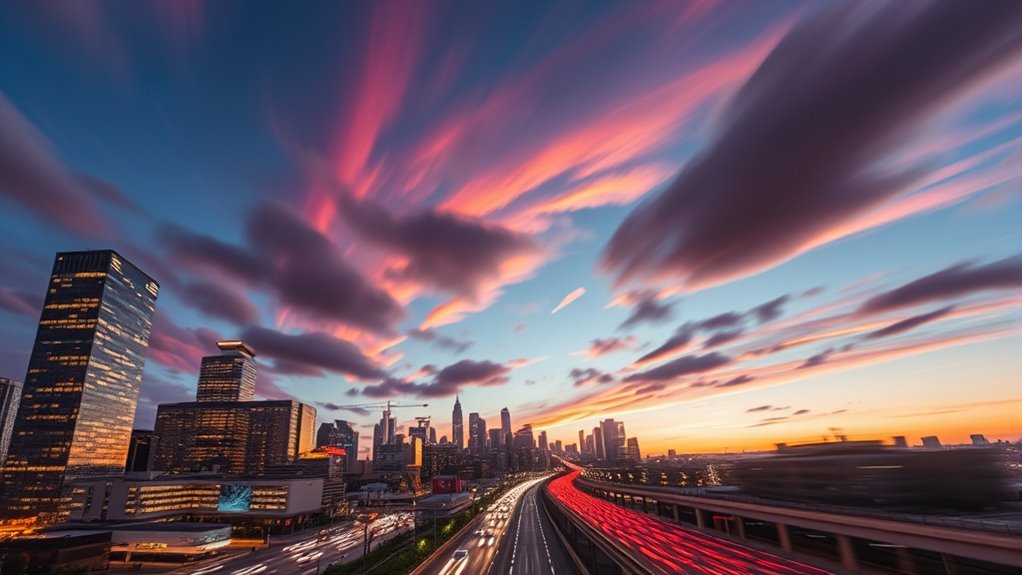
Time-lapse photography is a technique that captures a series of images over an extended period and combines them to produce a sped-up video. It’s a powerful way to show changes that happen slowly, like a sunset, busy city streets, or blooming flowers. To get the most epic establishing shots, you need to master your camera settings and understand how to use motion control equipment effectively.
Time-lapse captures slow changes, turning hours into epic, fast-paced scenes that wow viewers.
First, focus on your camera settings. Since time-lapse involves capturing many images over hours or even days, you want to set your camera to manual mode. This ensures consistent exposure, so your shots don’t flicker or shift in brightness. Adjust your aperture to control depth of field — a smaller f-number (like f/8 or f/11) keeps more of the scene in focus, which is typically desirable for establishing shots. Set your ISO as low as possible to prevent graininess, especially in daylight scenes. Shutter speed is *vital*; it needs to be balanced with your frame interval. For bright scenes, a faster shutter speed (e.g., 1/100s) prevents overexposure, while in low light, you might need a slower shutter. The key is to keep your exposure consistent across all frames, so test beforehand and fine-tune your settings accordingly. Additionally, understanding the contrast ratio of your camera can help you better manage the exposure and dynamic range, ensuring your highlights and shadows are well-preserved in your time-lapse. A thorough understanding of camera sensor capabilities can also inform your choices for optimal image quality. Moreover, being aware of your camera’s sensor limitations can help you avoid issues like highlight clipping or shadow crushing, which can detract from the final video.
Next, consider your interval between shots. This depends on how quickly the scene changes. For fast-moving scenes like traffic or clouds, you might shoot every few seconds. For slower transitions, longer intervals work better. Some cameras have built-in intervalometers, but if yours doesn’t, external ones or smartphone apps can help.
Motion control is another essential component for professional-looking time-lapses, especially for establishing shots. It allows you to create smooth, deliberate camera movements — like sliding horizontally, tilting upward, or panning across a scene. Without motion control, your shots can feel jumpy or unsteady, breaking the illusion of a seamless time-lapse. With a motorized slider or gimbal, you set your desired motion path and timing, then let the equipment handle the movement while your camera captures the frames. This precise control results in fluid motion that adds depth and epic scale to your shots.
Additionally, understanding the dynamic range of your camera can help you better manage the exposure and dynamic range, ensuring your highlights and shadows are well-preserved in your time-lapse. Combining the right camera settings with motion control techniques ensures your time-lapses are smooth, consistent, and visually stunning. Planning your shot in advance, testing your setup, and adjusting your parameters as needed will help you create *engaging* establishing shots that truly stand out. Master these basics, and you’ll be well on your way to producing professional-quality time-lapse videos that wow viewers and elevate your filmmaking.
Frequently Asked Questions
What Camera Settings Are Best for Time-Lapse Photography?
When choosing camera settings for time-lapse photography, you should consider your camera lens selection and weather conditions. Use a sturdy tripod and set your camera to manual mode, adjusting aperture and ISO to suit the lighting. Keep your shutter speed consistent, and choose weather-appropriate gear to safeguard your equipment. Regularly check your battery and memory, and plan for changing weather to ensure smooth, epic shots.
How Do I Stabilize My Camera During Long Exposures?
To stabilize your camera during long exposures, make certain tripod stability by tightening all legs and using a weight or sandbag if needed. Choose a sturdy tripod to prevent vibrations. Use a remote shutter or timer to avoid camera shake. Lens selection matters too; opt for lenses with image stabilization if available. Keep your camera steady, and double-check all connections before starting your shot for crisp, sharp images.
What Intervals Should I Use for Different Scene Types?
A gentle nudge towards understanding interval selection can elevate your scene pacing beautifully. For bustling cityscapes or lively events, opt for shorter intervals like 1-3 seconds to capture rapid changes. Conversely, serene landscapes or star trails benefit from longer intervals, around 10-30 seconds, to emphasize gradual transformations. Adjust your intervals based on the scene’s energy, ensuring your time-lapse flows naturally and keeps viewers engaged.
How Can I Prevent Battery Drain During Extended Shoots?
To prevent battery drain during extended shoots, prioritize battery conservation by using power accessories like external batteries or portable power banks. Turn off any unnecessary features on your camera, such as Wi-Fi or Bluetooth, to save power. Keep spare batteries handy, and consider using a power adapter if possible. Regularly monitor your battery levels and swap out batteries before they die, ensuring your shoot continues smoothly without interruption.
What Software Is Recommended for Editing Time-Lapse Footage?
When choosing software options for editing time-lapse footage, you want tools that streamline your editing workflow. Popular choices like Adobe Premiere Pro, LRTimelapse, and Final Cut Pro offer powerful features for organizing, stabilizing, and enhancing your clips. These programs let you easily adjust speed, add transitions, and fine-tune colors. Select software that fits your skill level and hardware setup to guarantee a smooth, efficient editing experience for your epic establishing shots.
Conclusion
Now that you understand the basics, imagine setting up your camera as the world shifts around you. The seconds tick by, shadows stretch, and colors fade into night. With each frame, you’re capturing a story unfolding in real time, building anticipation for the final reveal. When you play back your time-lapse, it’s like witnessing a secret universe speeding up, revealing a breathtaking scene you created. Are you ready to access this powerful storytelling tool?
